
By either using ready-mix or mixing your own, you can achieve professional-looking concrete slabs effortlessly.
Before beginning any concrete work, always contact 811 to mark all utility lines with their exact locations. After calling, prepare the slab area by compacting soil and installing forms.
Subbase
A subbase should be added beneath any concrete slab in order to support its load, prevent erosion and pumping of soil into the concrete, separate subgrade from main structural component and improve drainage & resist moisture-related damages.
Material requirements vary based on the size and purpose of your slab. A small patio slab for a shed or outdoor spa requires approximately 4 inches, while garage floors designed to hold two or more vehicles may need up to 5 inches of thickness.
To prepare an area for a slab, drive stakes into the ground to indicate its corners. Next, level out and remove any rocks or obstructions such as rocks or boulders from your area. A gravel base is preferred as its load-carrying capacity increases while keeping water away from concrete which could otherwise cause cracking issues. Occasionally mechanical compactors may be necessary in larger projects to make sure all material has been compacted before adding concrete.
Forms
Forms, made of wood or plywood, are essential when pouring a concrete slab. Depending on the size and scope of your project, you can either build this yourself or rent one from a concrete company. Wheelbarrows should also be provided to transport and compact the subbase layer as part of this project.
Before excavating, call 811 to see if any underground utilities exist in your intended concrete slab location and mark off that area using stakes.
Footers are necessary when building in frost-prone regions, to prevent concrete from cracking and heaving under ground freezing pressure. Footers will need to be placed beneath the frost line – which requires digging at least one foot deep – in order to properly support your foundation or concrete slab construction project. A concrete house slabs Melbourne can make an excellent addition to your garden or backyard with minimal experience and effort required for creation.
Concrete
A concrete slab can support many structures, from patio tables and outdoor kitchens to hot tubs. When building the latter, a quality slab will protect and enhance its look while keeping it from sinking or settling over time.
Purchase bagged concrete at your local home center or hardware store, which typically consists of gravel, sand and cement that only needs water to set. Or make your own using the necessary ingredients and equipment.
Drive stakes into the ground to mark out where your concrete slab will go. Use a builder’s level to check that the ground is level and that its alignment matches up with property lines.
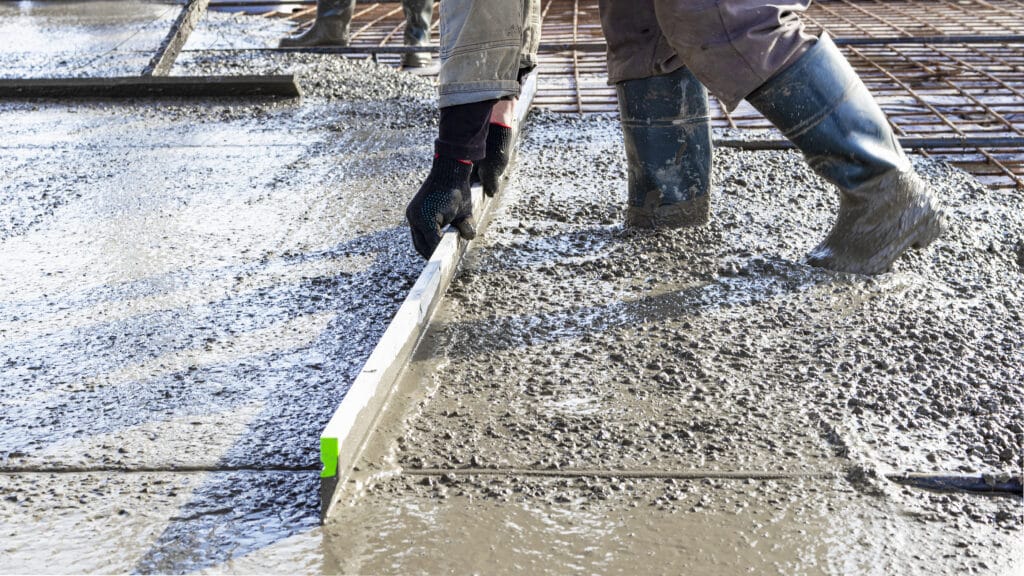
Before pouring concrete, use a large floating device known as a bull float to smooth its surface. After completion of pouring, use magnesium hand floats for any sections that the bull float couldn’t reach.
Finishing
Your concrete slab can become more user-friendly with just a few finishing touches. Broom finish is often preferred for outdoor slabs as it provides both traction and rough enough texture to prevent slips. If weather doesn’t permit this method of finishing your slab, pour two separate days so as to reduce labor and material costs.
Before continuing with bull floating, wait until all excess “bleed water” has subsided and dissipated from the concrete surface. Pouring additional water onto it could create ridges and undermine its structure, further weakening its final form.
Once the concrete has set, create control joints every five feet to allow excess water to drain away and reduce shrinkage or swelling depending on weather changes. A grooving tool is an ideal way to do this job.
Press 1/2-inch anchor bolts into the concrete before it hardens, 12 inches from door openings and six feet apart around its perimeter. After 24 hours have passed, remove the form frame.